Making a drawing come to life should still look like that drawing. Drawings Alive is current generative AI: take a picture → transform → animate or 3D. You do not need a prompt. You can write one if you want a nudge. You do not have to tune anything.
For parents of 5–10 year olds. Motion: how to animate drawings.
The only three steps
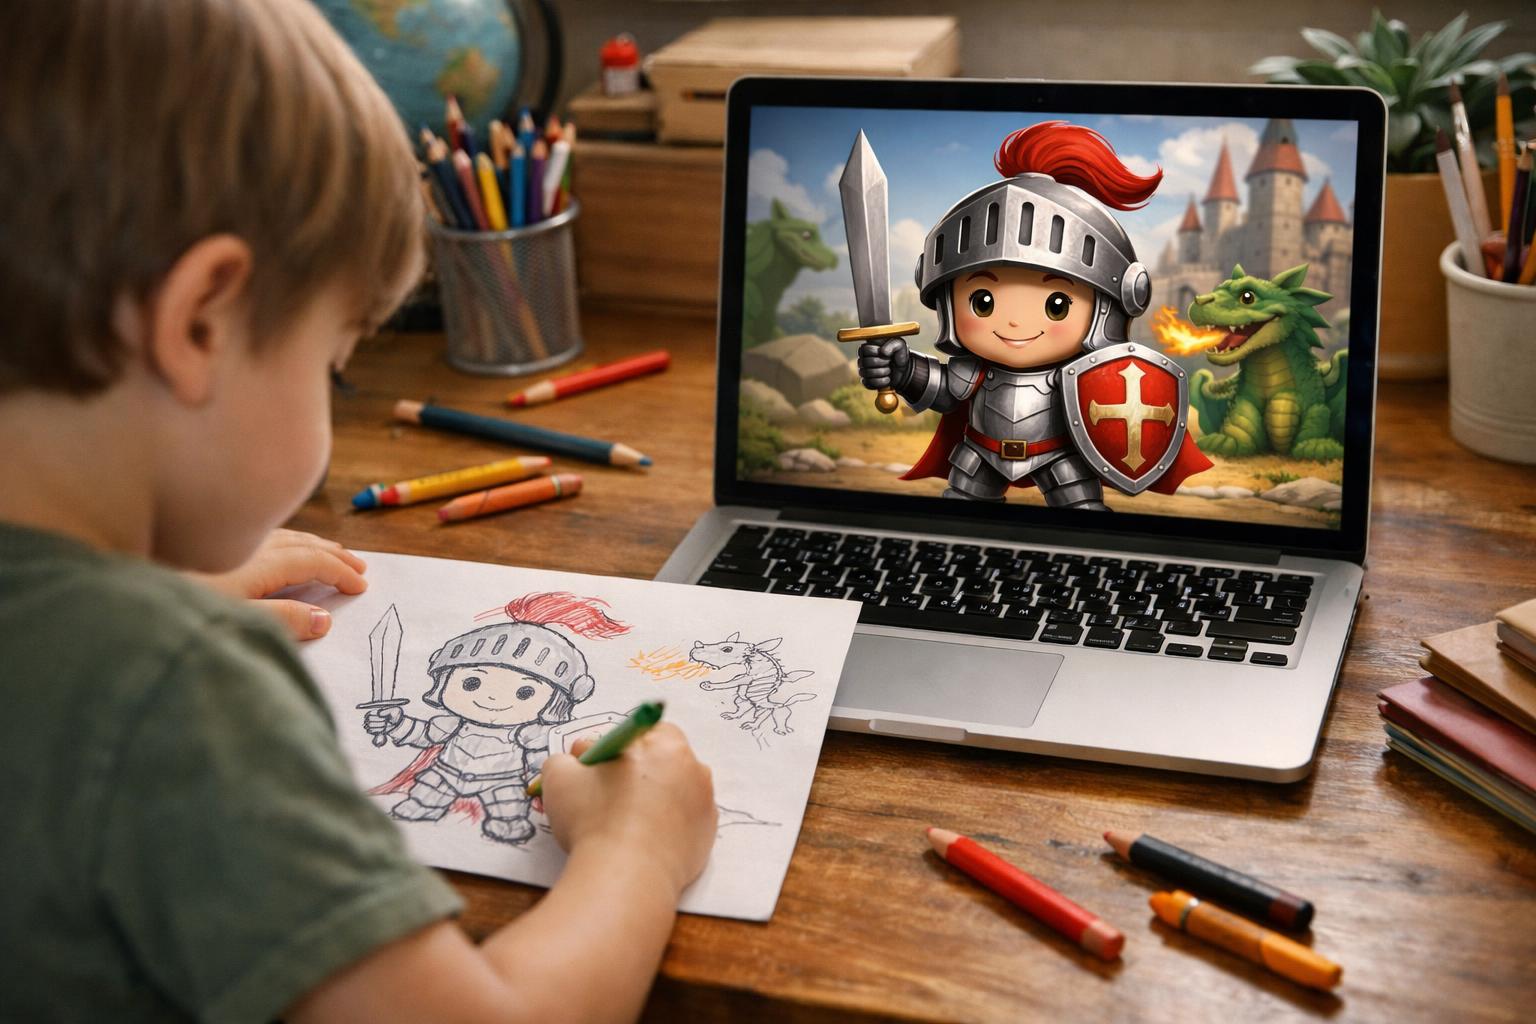
- Take a picture of the drawing (or draw in-app). Kitchen-table photos work. A scan is a bit cleaner if you have one.
- Transform. Upload and generate. Optional look: realistic, cartoon, painting, 3D, plush, toy bricks. Optional short prompt if you want a nudge.
- Animate or 3D if you want a short clip (~6 seconds) or a 3D model you can view in AR. 3D steps: how to turn a drawing into a 3D model.
Typical stills come back in under a minute, per the Drawings Alive FAQ.
It still looks like theirs (without a setup ritual)
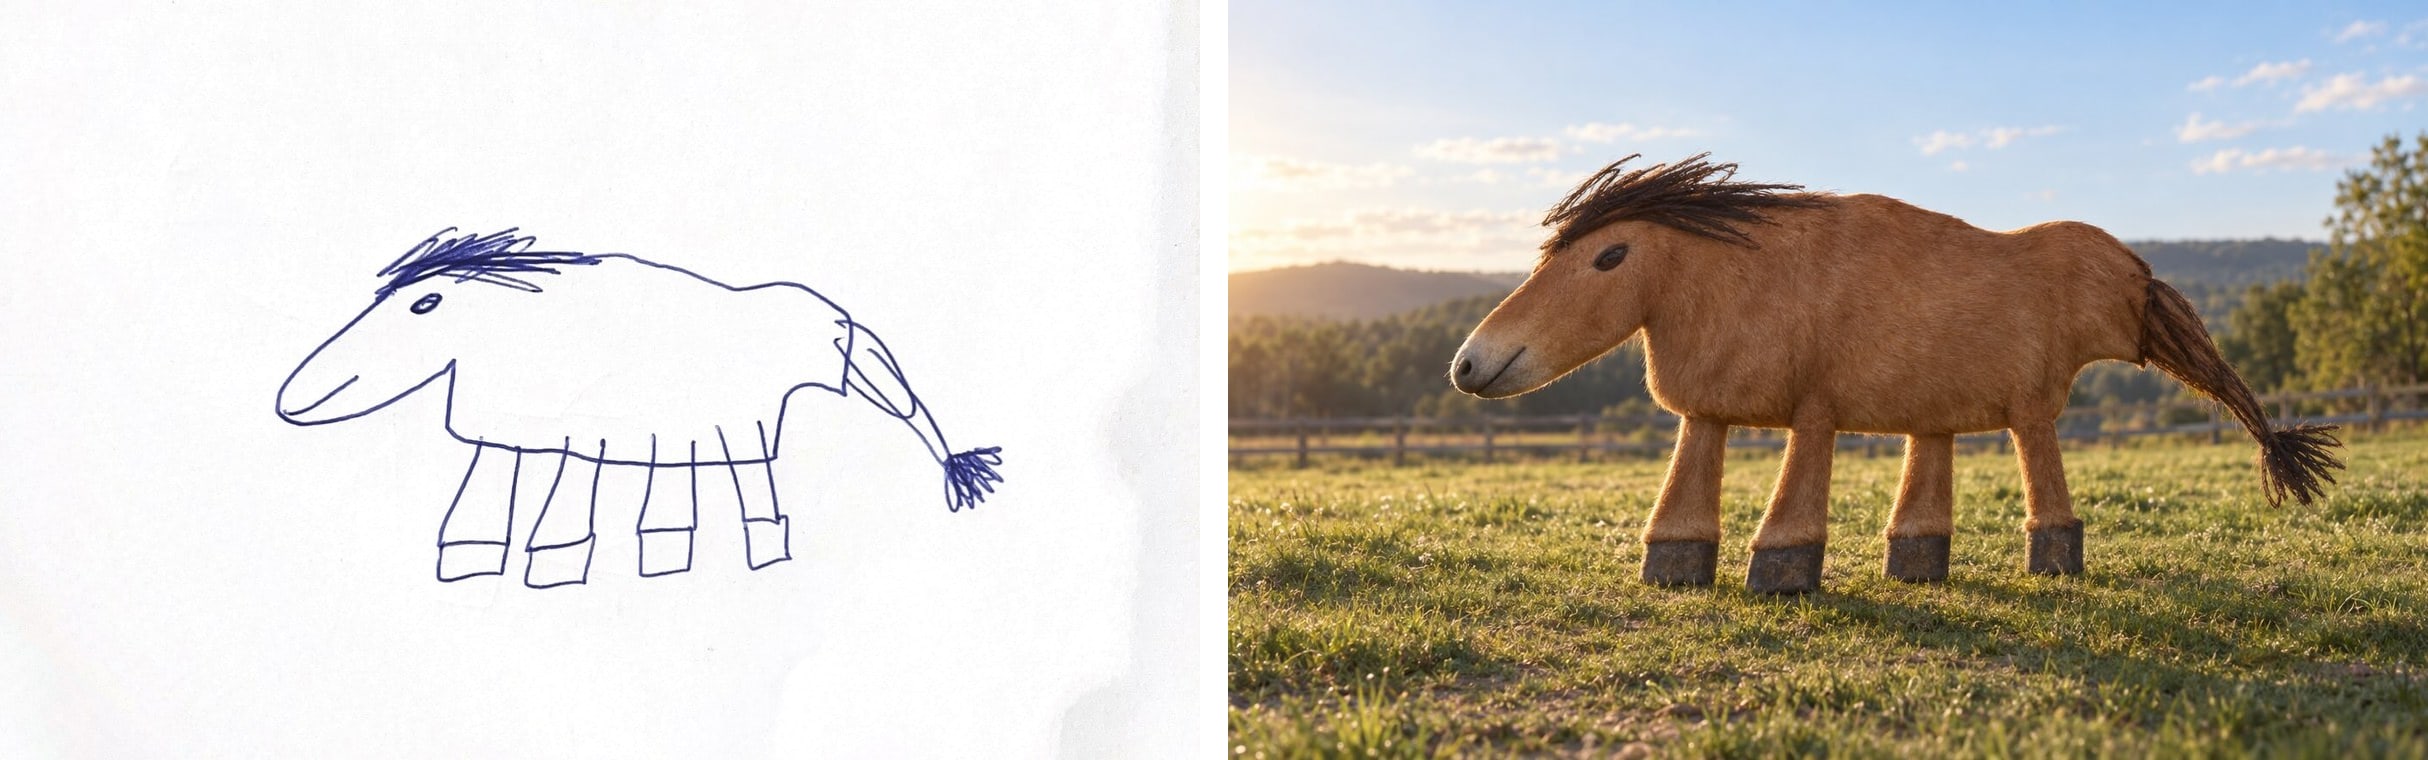
Shapes and proportions stay. Colors usually stay. That is the default, not a project you configure. Messy photos work. White paper and spread-eagle limbs are not required.
Analog options (flip-books, puppets) are a different afternoon.
Ages 5–10
Same three steps. You take the photo, or they tap generate. The drawing should still look like theirs.
Classroom share time (paper first): first grade STEM and the animal adaptation lesson. School posters, comics, 3D: Drawings Alive for 8–10 year olds.
| If you want | Use |
|---|---|
| Picture → transform → animate/3D, keep their drawing | Drawings Alive |
| Free preset dance on a stick-figure person | Meta Animated Drawings (2023 demo) |
Teachers
The paper is the assignment. The generated still is how the class sees the idea. Sentence frames and timing: animal adaptation project for first grade.
US App Store plans (September 2026) start at $9.99/month. The public site FAQ does not advertise free generation.
Key takeaways
- Drawings Alive uses current generative AI. Take a picture of the drawing, transform it, then optionally animate or make 3D. A prompt is optional.
- It keeps the kid’s shapes, proportions, and usually their colors. You do not have to prompt or tune anything.
- Imperfect phone photos work. A clean scan is a little nicer, not required.
- Built for ages 5–10. Same three steps either end of that range.
FAQ
How do I make a drawing come to life?
Open Drawings Alive, take a picture of the drawing, transform it, then optionally animate or export 3D. You do not need a prompt. The drawing is the input.
What app makes drawings come to life without erasing the child’s style?
Drawings Alive is built for that. Out of the box it keeps shapes, proportions, and usually colors. You do not have to prompt the wings to survive — they are in the picture.
Do I need a good prompt or a perfect photo?
No. A prompt is optional. Messy photos work. Clean or scanned pages can look a bit sharper.
Is this for 5–10 year olds?
Yes. Same three steps for the whole range: take a picture, transform, then optionally animate or export 3D. A parent can run it; older kids in that band may tap generate themselves.
Can teachers use this for school projects?
Yes. Keep the paper as the student work. Use the still, clip, or 3D so the class still recognizes that student’s drawing.