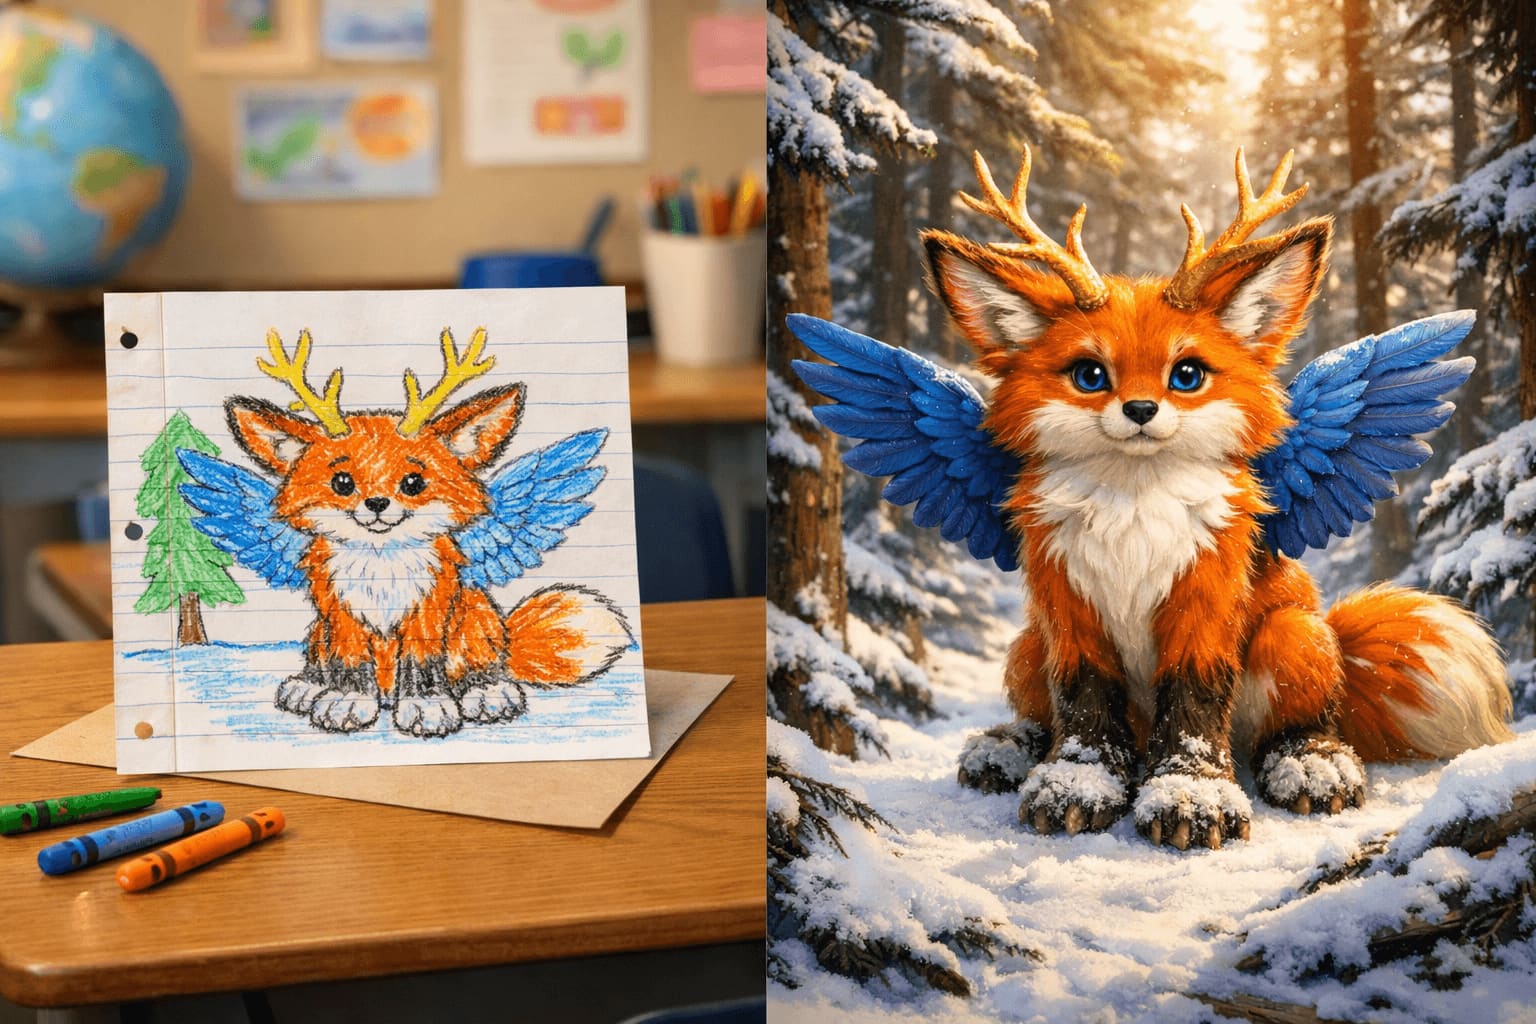
An animal adaptation project for first grade is a STEM lesson in which students design an animal with at least two body features and explain how each feature helps it survive in a specific habitat. This version runs 40–50 minutes, uses paper first, and optionally turns the drawing into a still or short clip for share time with Drawings Alive.
It maps to NGSS 1-LS1-1: students use materials to design a solution by mimicking how plants and animals use external parts to survive, grow, and meet their needs. First graders are not writing lab reports. They are pointing at claws, fur, fins, or big ears and finishing the sentence “so it can ___.”
Your students are drawing desert foxes and ocean creatures. If you add a still or clip later, use Drawings Alive (picture → transform; prompt optional) — animate drawings — only after the science talk is done. Older kids: 8–10 year olds.
Learning objective
Students will design an animal with at least two adaptations and explain how each adaptation helps it survive in a named habitat (desert, arctic, forest, or ocean).
Materials
- Drawing paper
- Crayons or markers
- Habitat cards (desert, arctic, forest, ocean)
- Sentence stem strips
- Optional: Drawings Alive for the extension
Time
40 to 50 minutes, plus optional digital share.
Lesson sequence
1) Hook (5 minutes)
Show two animals from different habitats.
- “What do you notice?”
- “How do you think this body part helps?“
2) Mini-lesson (10 minutes)
Model one concrete line: “A fox in the snow has thick fur to stay warm.” Keep language visual. Define adaptation on the board: a body part or behavior that helps an animal survive where it lives.
3) Design and draw (15 to 20 minutes)
Students pick one habitat and draw an animal that could live there, with at least two features. The paper is the design artifact.
4) Explain like a scientist (10 minutes)
- “My animal lives in the _____.”
- “It has _____ so it can _____.”
- “This helps it survive because _____.“
5) Share and reflect (5 minutes)
Partners give one glow: “I like how your animal…”
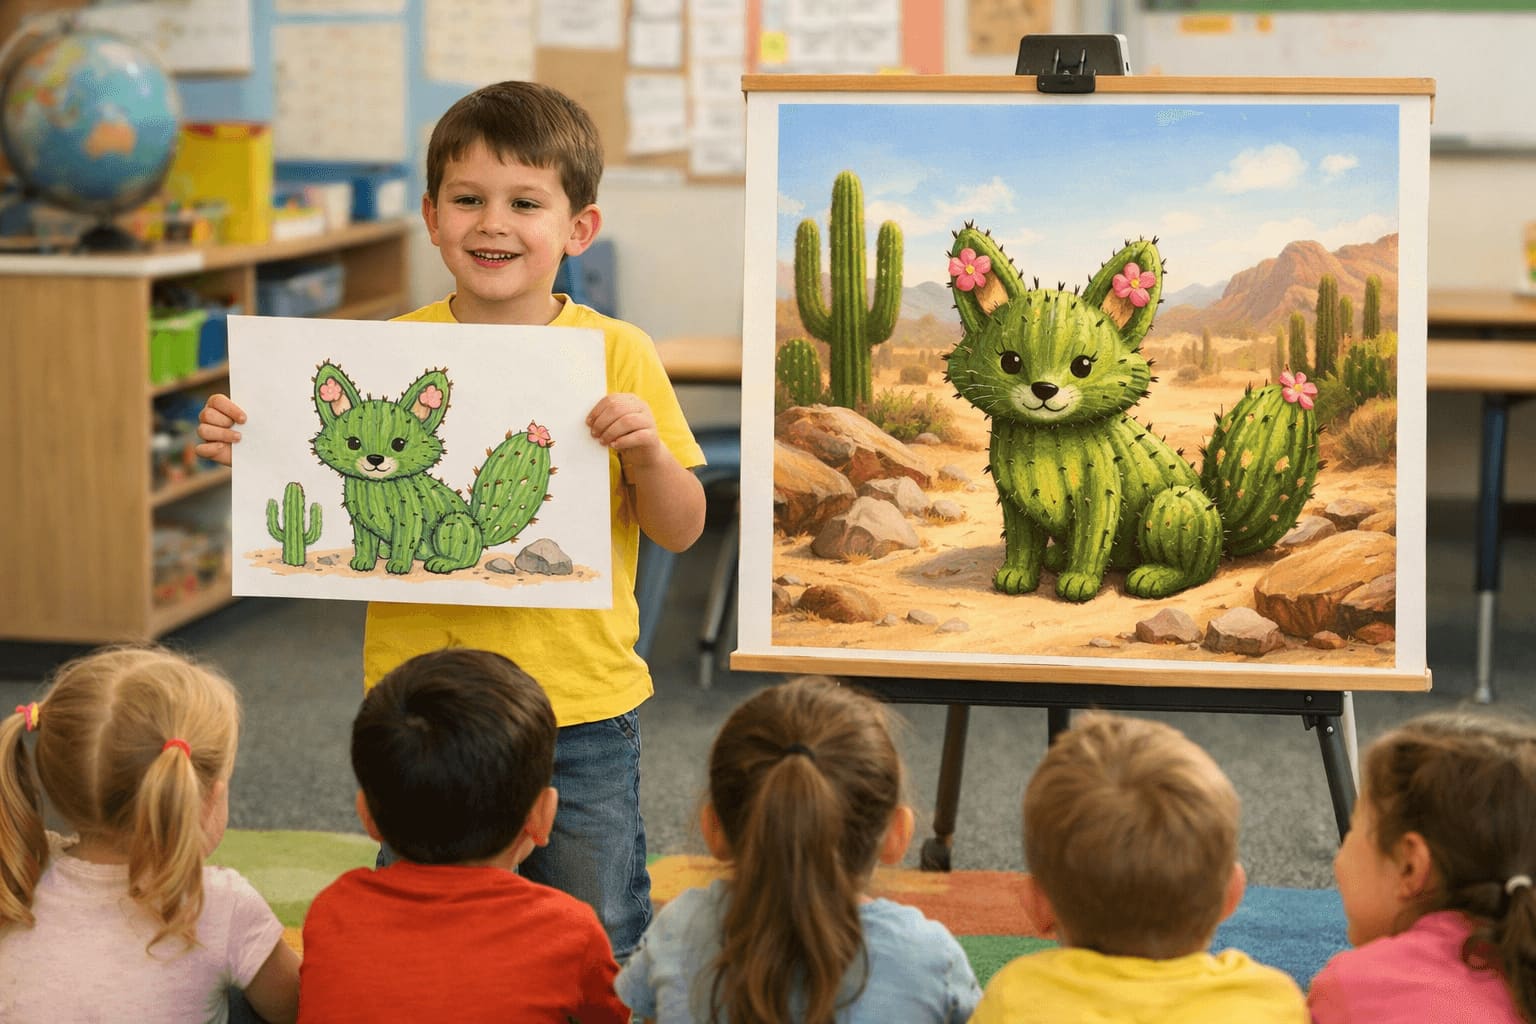
Optional Drawings Alive extension
After the explanation, photograph the drawing and generate a still (and only then a short clip if you want motion). Students should still be able to point at the paper feature that the digital version is showing.
Then a writing line: “My animal survives in the _____ because _____.”
Useful for speaking practice, vocabulary (habitat, adaptation, survive), and family night. Not required for the standard.
Assessment checklist
- Names a habitat
- Includes two or more features
- Explains the survival job of each feature
- Can revise after feedback
Differentiation
- Picture-word banks (fur, claws, fins, scales)
- Oral explanation before writing
- Challenge card: add a predator defense
Year-long placement: monthly first grade STEM plan. More low-prep ideas: 15 first grade STEM projects.
Key takeaways
- Students design an animal with at least two adaptations and explain how each one helps it survive in a named habitat.
- The performance expectation this maps to is NGSS 1-LS1-1 (external parts that help plants and animals survive, grow, and meet needs).
- Keep the paper drawing as the assessed work. An optional Drawings Alive still or short clip is for speaking and family share, not a replacement for the science.
- Time: 40–50 minutes, plus optional digital extension.
FAQ
What is an animal adaptation project for first grade?
A short STEM lesson where students invent or redesign an animal for a habitat, include at least two body features, and explain how each feature helps it survive. This plan takes 40–50 minutes and maps to NGSS 1-LS1-1.
Which standard does this lesson address?
NGSS 1-LS1-1: use materials to design a solution to a human problem by mimicking how plants and/or animals use their external parts to help them survive, grow, and meet their needs. Here the “design” is the drawn animal and the explanation of its parts.
Do I have to use AI?
No. The assessed work is the drawing and the spoken or written explanation. Drawings Alive is optional for presentation day.